How to Send a Check via iOS App: A Step-by-Step Guide
Need to send a physical check but want to skip the hassle of writing and mailing it yourself? With Check Supply, you can conveniently send checks directly from your iPhone. Here's how.
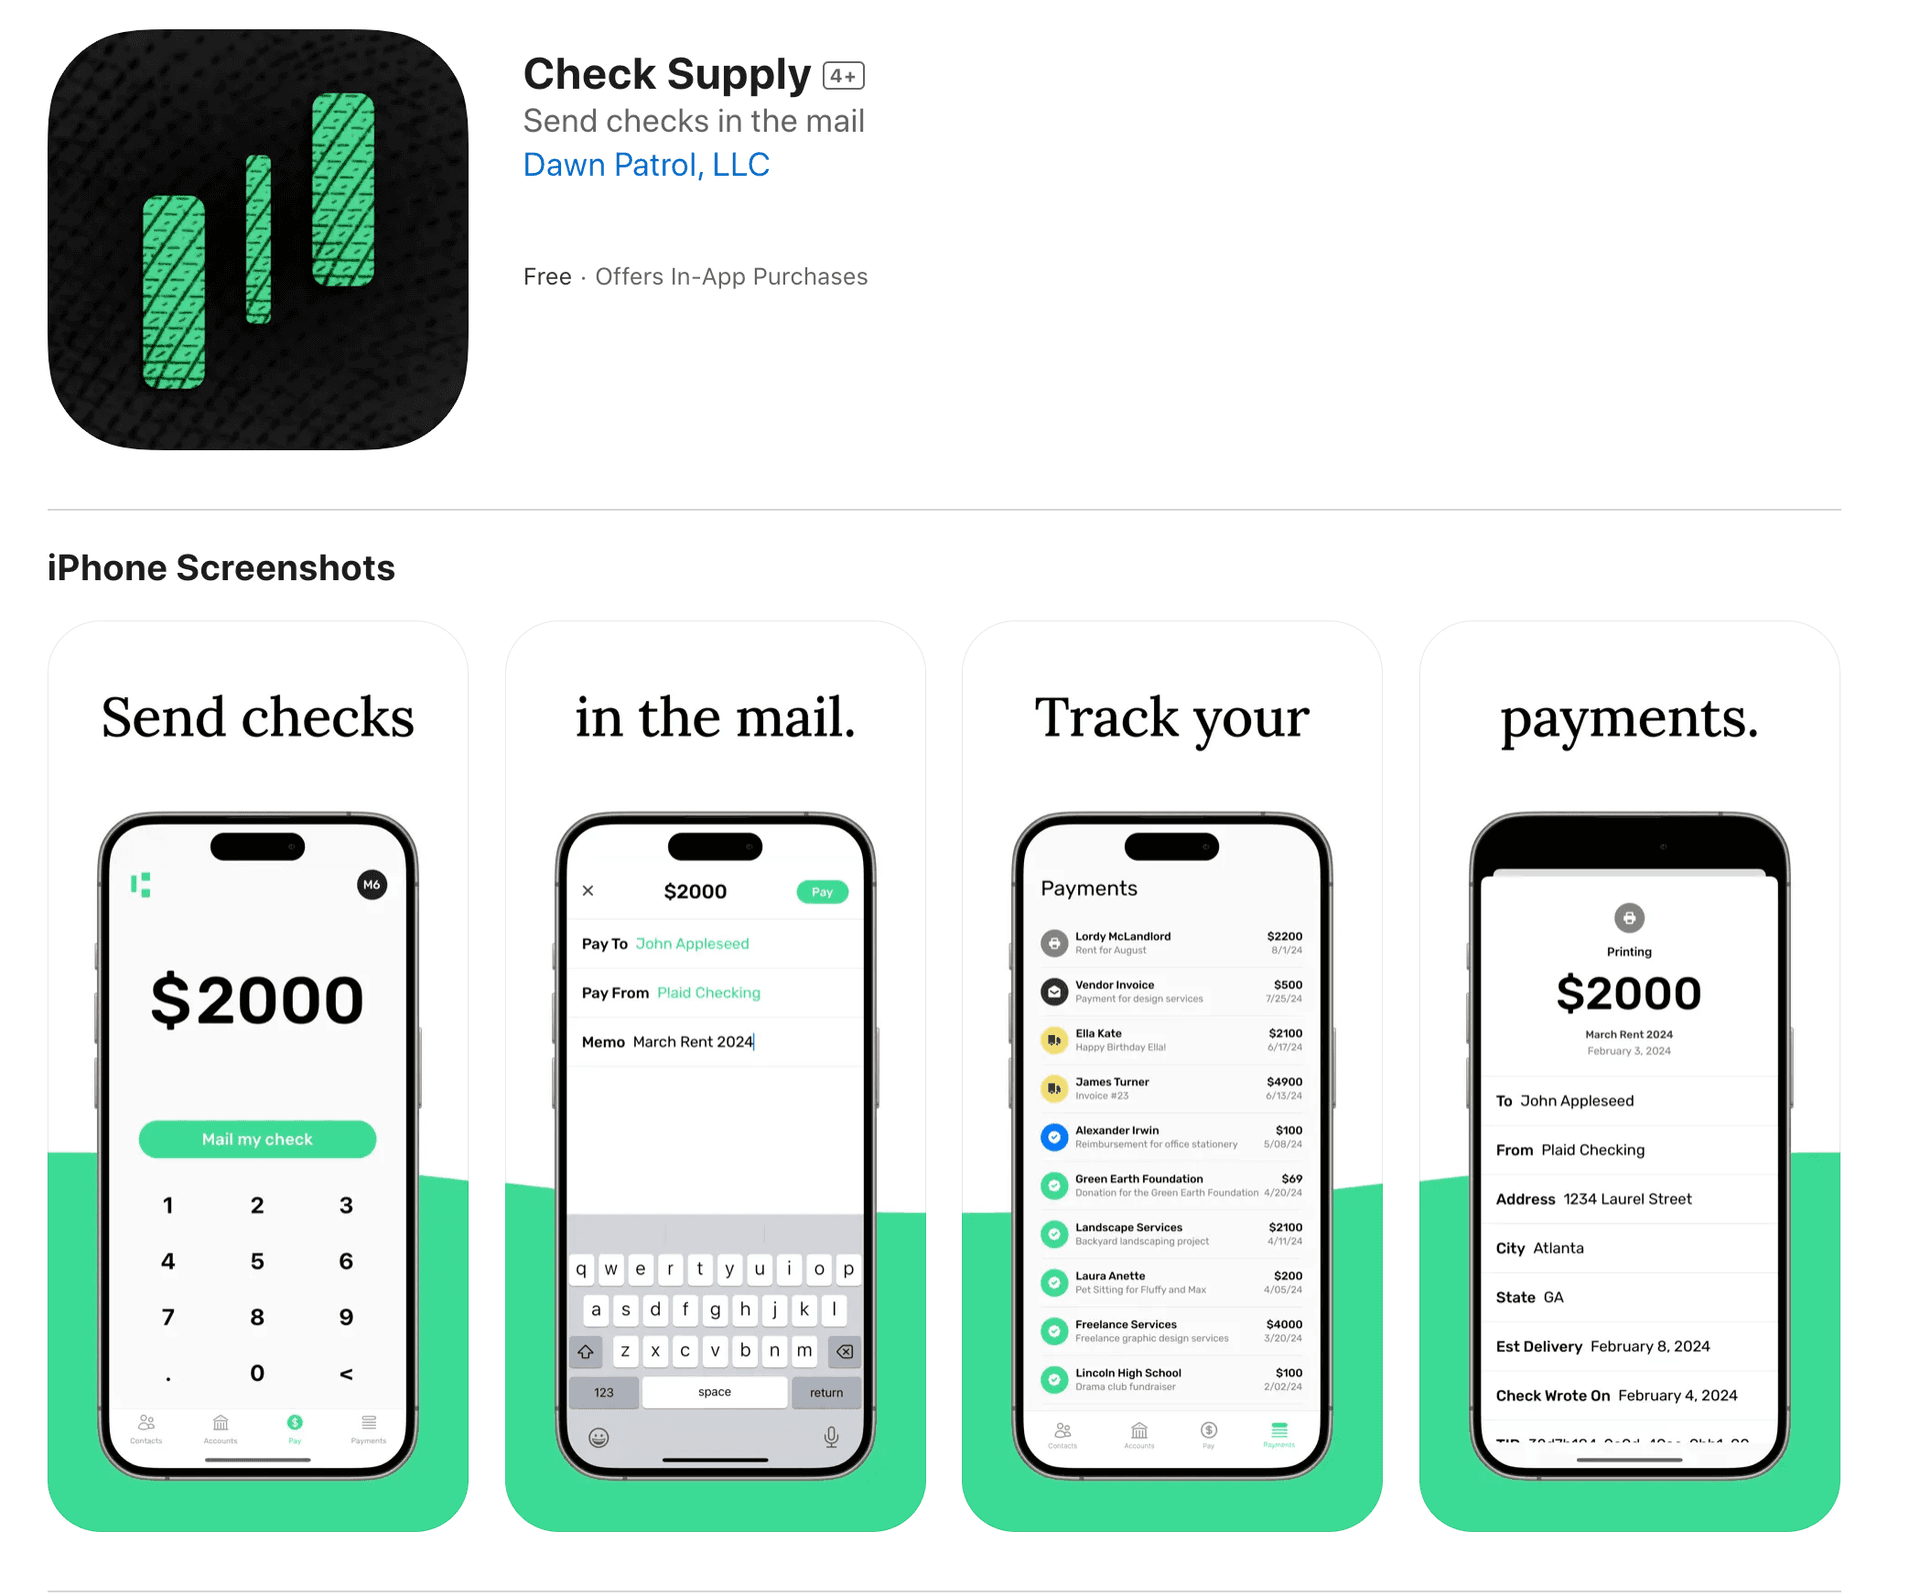
Step 1: Download Check Supply from the App Store
Download the Check Supply app from the Apple App Store.
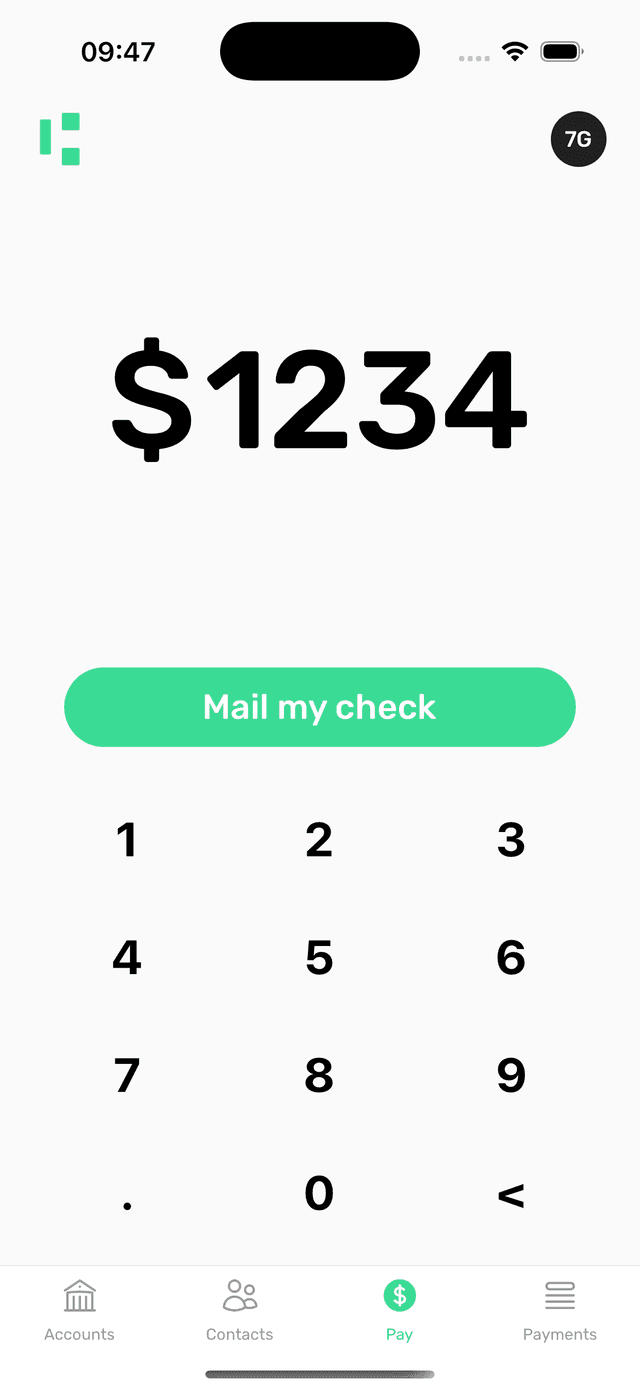
Step 2: Enter the Payment Amount
Open the app and navigate to the Pay tab. Type in the amount you want to send and tap Mail My Check.
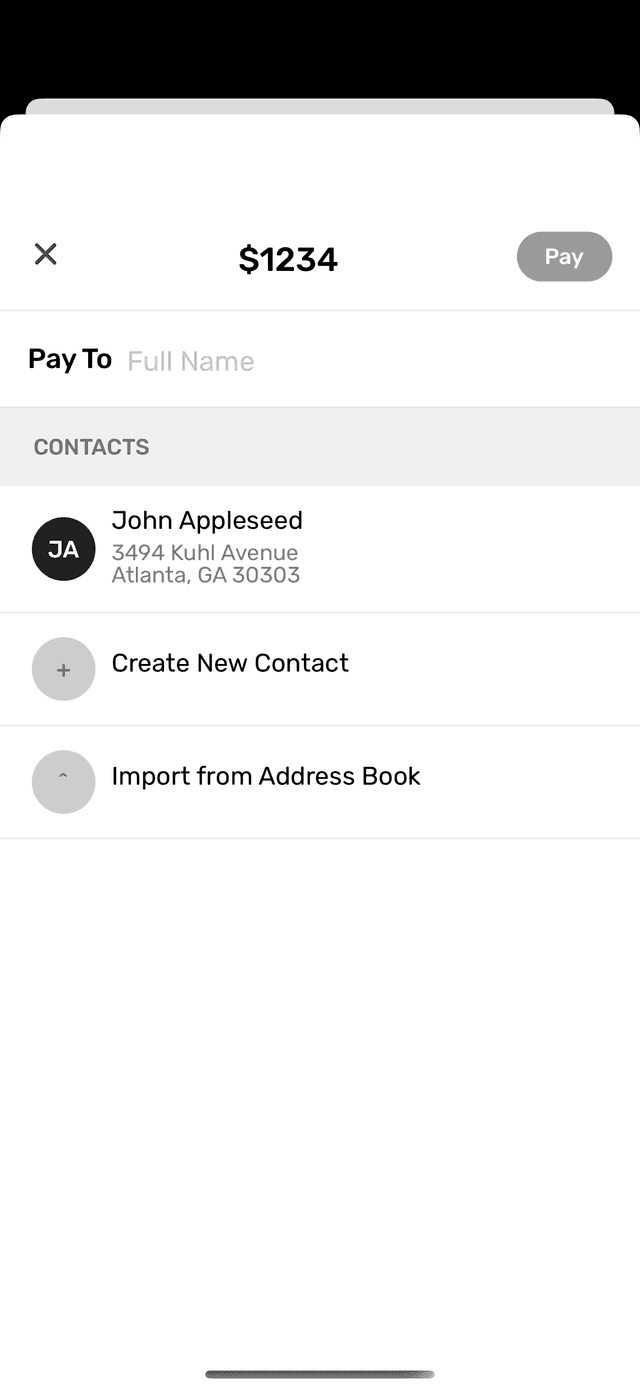
Step 3: Add Recipient's Details
Input the name and address of the person you wish to send the check to. You can also import this information from your iPhone's contact list for added convenience.
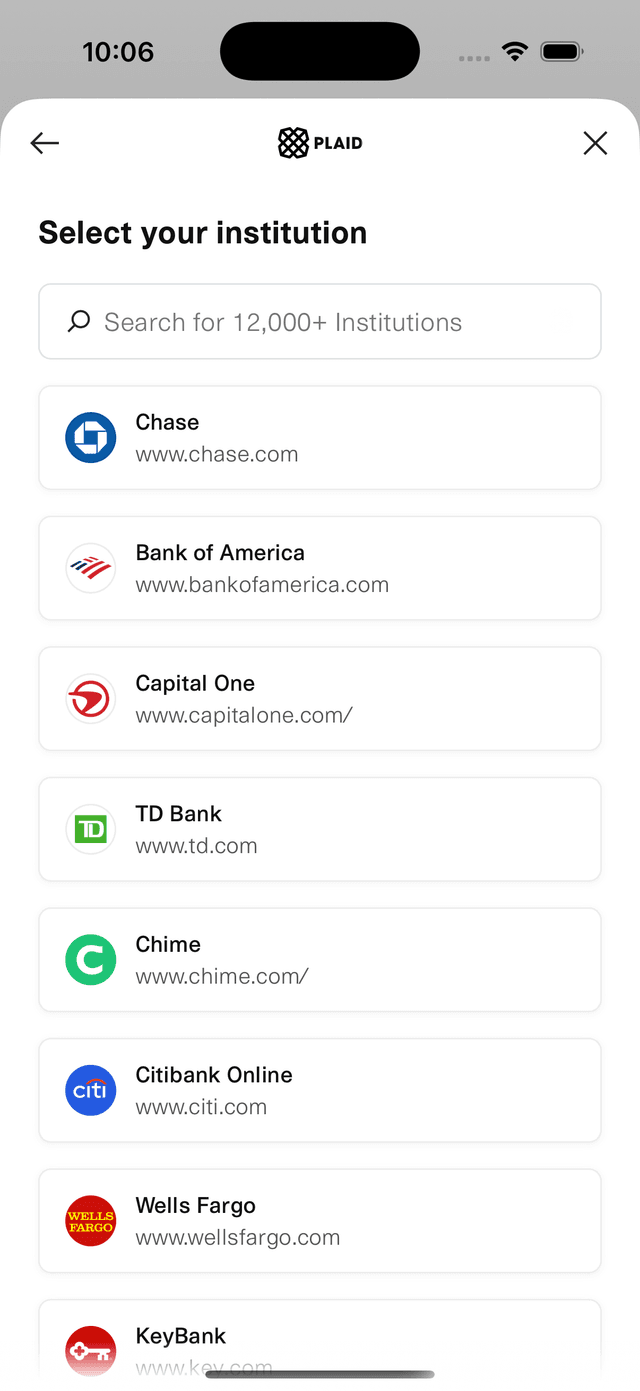
Step 4: Securely Connect Your Bank Account
Connect your bank account securely using Plaid. Your financial information is encrypted and stored only with Plaid; Check Supply never accesses or stores your sensitive data.
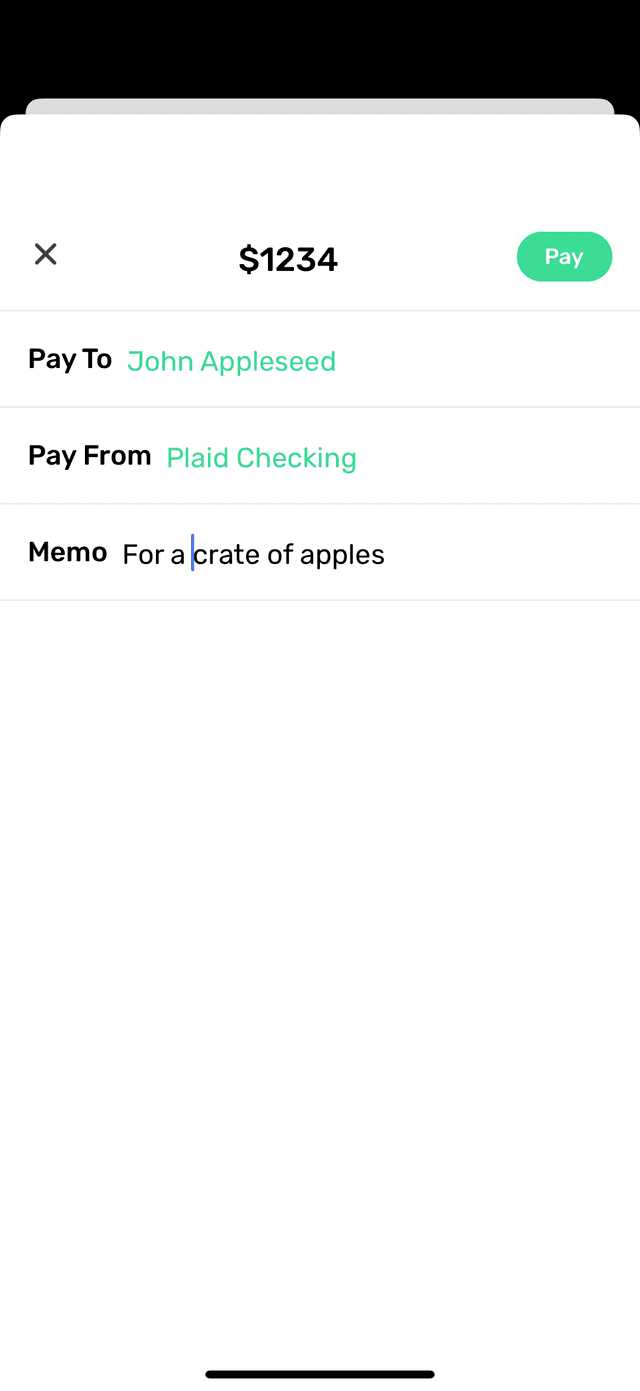
Step 5: Optional Memo or Note
Add a memo or note to be printed on the bottom left corner of the check. This step is optional. When you're ready, tap Pay.
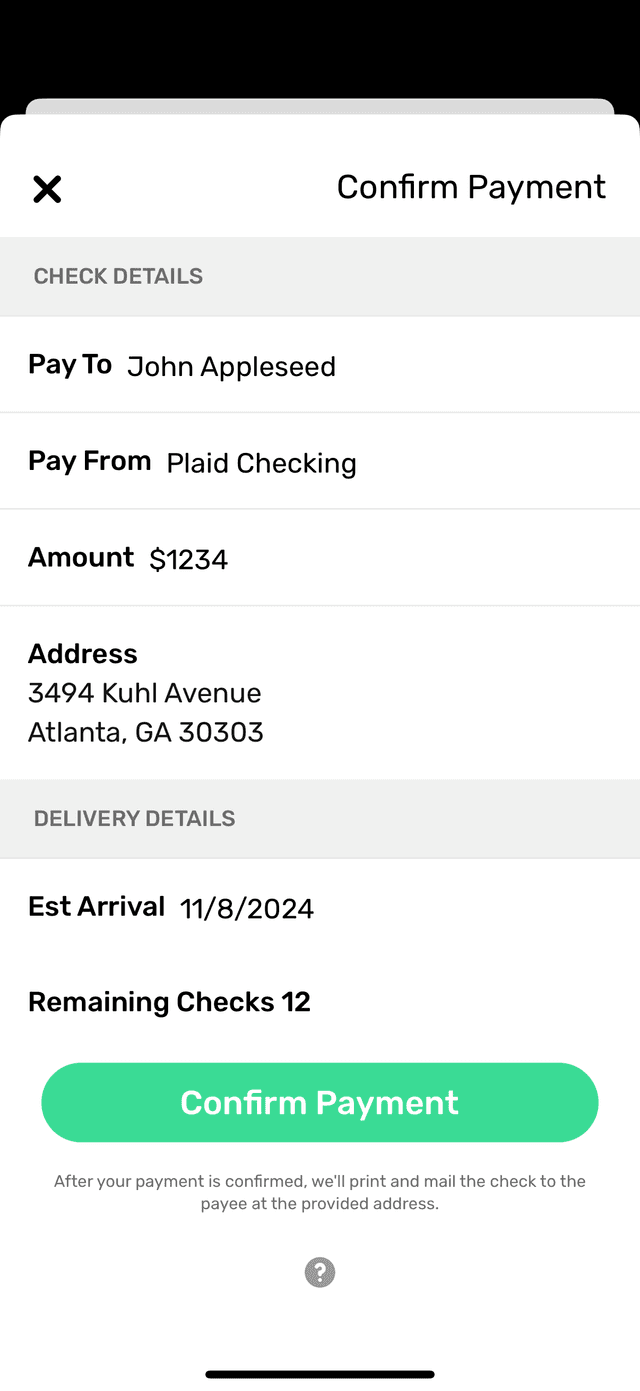
Step 6: Review and Confirm
You'll see a confirmation page to review all the details. Confirm and pay for the service. If completed before 3 PM EST on a business day, your check will be printed and mailed the same day.
Step 7: Track Your Check
Under the Payments tab, you can track your checks. Most are delivered within 1-5 USPS business days, including Saturdays.

Conclusion
Sending a physical check has never been easier. With Check Supply, you handle everything from your iPhone—quickly, securely, and without any hassle. Download the app today and simplify your payments.